Crafting with kids is always a joy, especially when you have the perfect storage solution. As someone familiar with Cabinet Installation in Bismarck, ND, I’ve seen many families seeking efficient ways to organize their homes. Watching kids unleash their creativity, be it with crayons, stickers, or glitter, is a pleasure. But the aftermath? Not so much. Hence, a Colorful Craft Cabinet, specifically designed for young artists, is the dream. Let’s explore how you can transform a regular cabinet into a vibrant storage solution that your kids will adore!
1. Selecting the Right Cabinet
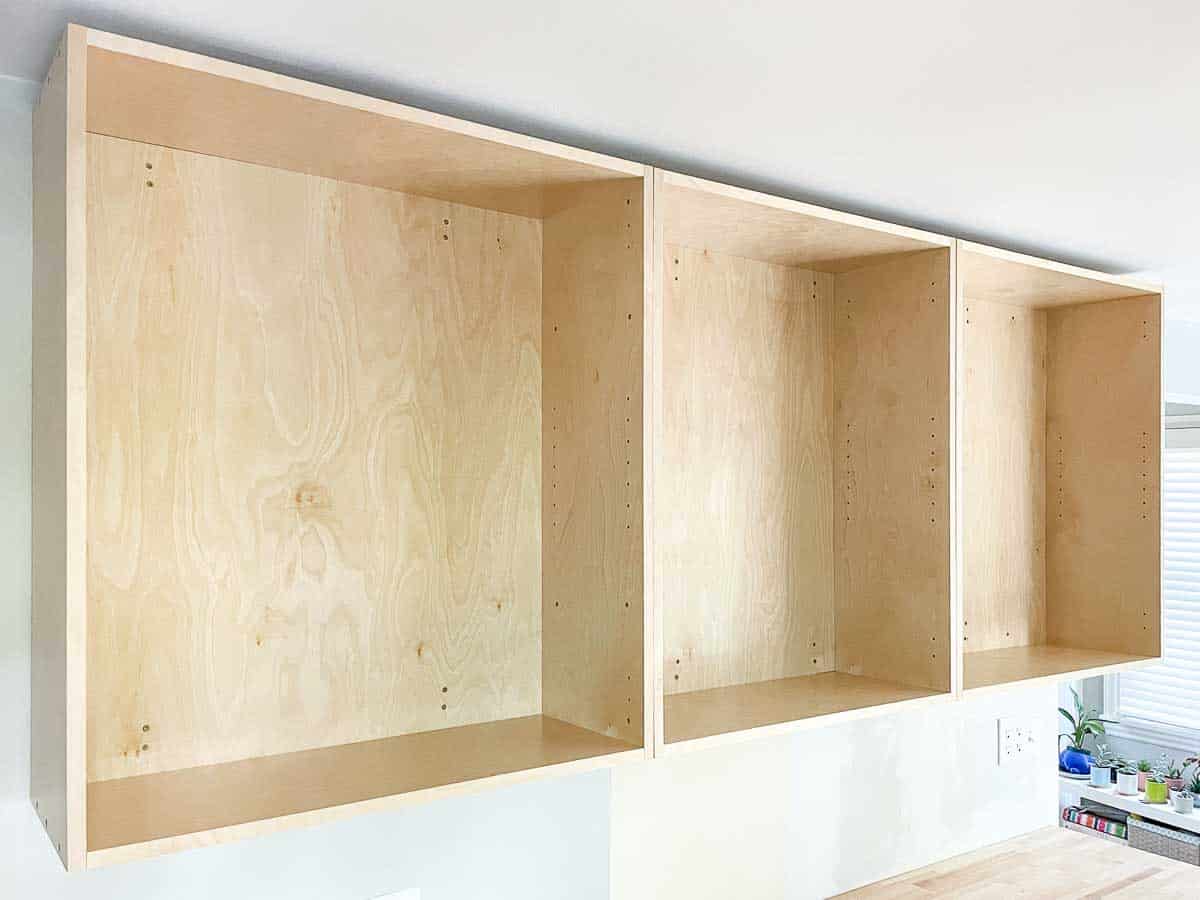
Choose a cabinet that’s sturdy yet accessible for kids. Think about where you’ll place it in your home and measure the space. Consider one with multiple shelves or drawers, offering you plenty of storage options.
 2. Prepping Your Cabinet
Before painting, remove any hardware and clean the cabinet thoroughly. Sanding it lightly will ensure that the paint adheres better. If the cabinet has any previous stains or colors, a primer will give you a neutral base to start with.
3. Choosing Kid-Friendly Colors
Ask your kids for their favorite colors or themes. You might choose a blend of pastels or go for vibrant primary shades. Remember, this is a space for them, so involve them in the decision-making process.
4. Painting Techniques
- Sponge Painting: Use sponges in different shapes to dab paint onto the cabinet for a textured look.
- Stenciling: Purchase or make stencils in fun shapes (stars, animals, etc.) and use them to paint patterns onto the cabinet.
- Hand Prints: Dip your child’s hand in paint and let them leave their mark. It’s a cute, personalized touch!
Let each coat of paint dry thoroughly before adding the next.
5. Decals and Stickers
Once your paint has dried, it’s time to decorate! Decals are a fantastic way to add characters, words, or scenes to your cabinet. From unicorns and trucks to motivational quotes about creativity, the choices are endless.
 6. Organizing the Inside
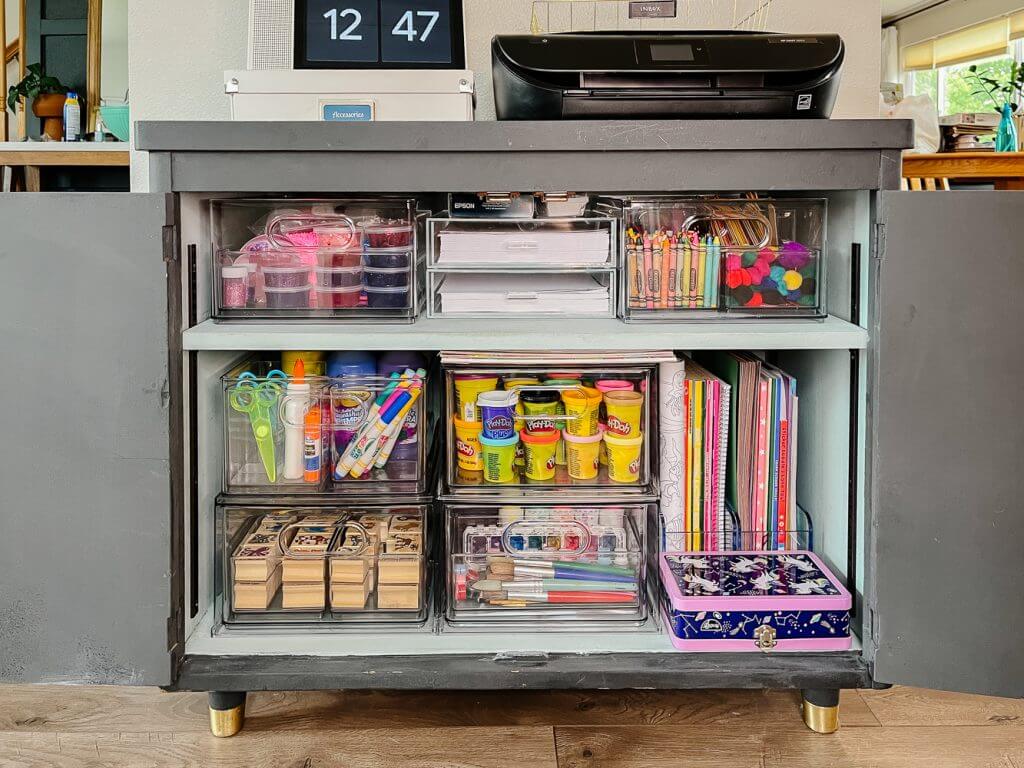
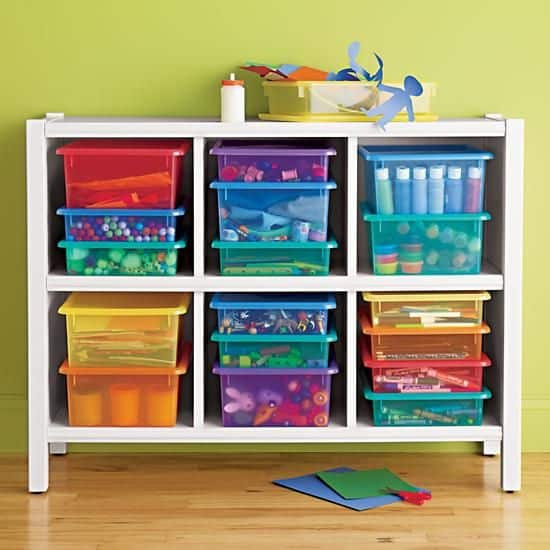
Use plastic bins, jars, or cloth pouches to organize materials. Label each section – ‘Colored Pencils’, ‘Glue & Scissors’, ‘Stickers’, etc. This way, your kids will know exactly where to find and return their craft supplies.
7. Re-attach Hardware and Safety First
When you’re satisfied with your cabinet’s new look, reattach any handles or knobs. You might also consider changing the old hardware to something more playful. Finally, if the cabinet is tall, ensure it’s anchored to the wall to prevent it from tipping.
8. Reveal Time
Gather the family and unveil the new craft cabinet. Watch your kids’ eyes light up when they see a piece of furniture designed just for them!
Involving your kids in this DIY project not only guarantees a fun weekend activity, but it also instills a sense of pride and ownership. They’ll likely take better care of their crafting materials when they have a special place to store them. Happy crafting, and here’s to many more colorful memories!

